SURFSHARK INSTALL ON iOS (iPhone, iPad)
How do I set up the iOS Surfshark VPN?
- To begin, locate and launch the App Store app on your device.

2. Look for the Surfshark.

3. Select GET. The installation of the app will begin.
You might be asked to use Face ID or your Apple ID password to confirm the installation.

4. Close the App Store and locate the Surfshark app on your device after the installation is finished.The app will launch when you tap the Surfshark icon.

5. If you agree with the Privacy Policy, click Continue.

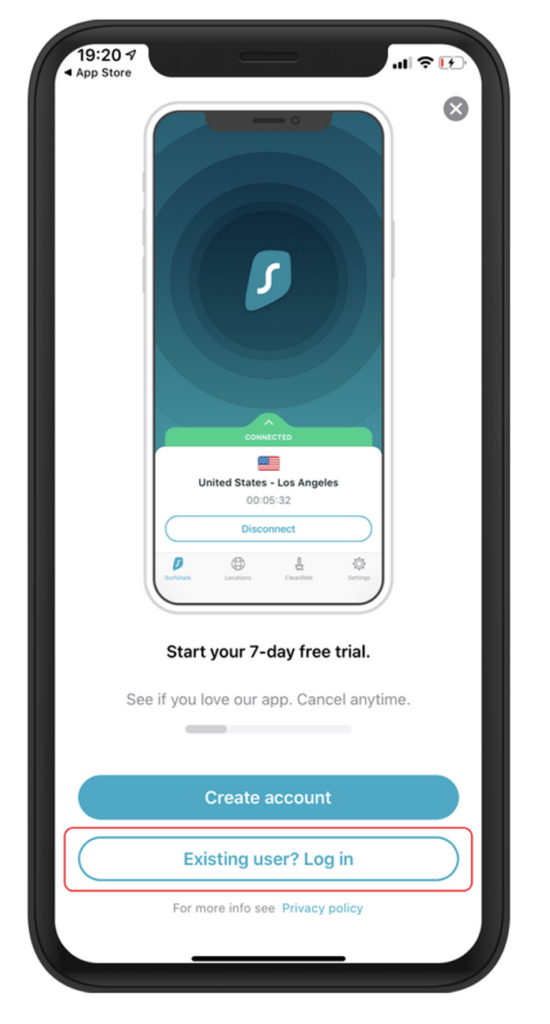
6. Log in as an Existing User if your Surfshark VPN subscription is currently active.
Clicking Create Account will allow you to sign up for the subscription if you do not already have one.

7. Click Log In after entering your registered email address and password.

8. The homepage of your Surfshark app will appear once you log in.
You must connect to one of the Surfshark servers located worldwide in order to secure your connection. The app will connect you to the fastest available server when you click the Connect button.

Additionally, you can select the fastest server or the country closest to you as your default location.
Tap this button to accomplish that (see the image below).

Select the nation that is closest to you or the server that is fastest.

9. Surfshark will need to install VPN configurations on your device when setting up a VPN connection for the first time. In order for Surfshark to construct and manage VPN tunnels, this is necessary.
In this pop-up, select “Allow.”

10. Your Surfshark app’s homepage will display the connection status.
Your internet connection is now secured if it is green and says Connected!

11. To learn more about your VPN connection, click the arrow on the connection status bar.
Your brand-new IP address, a toggle to enable the KillSwitch feature, and the amount of data transferred through the VPN are all displayed here.

